
Best Place to Plant a Pawpaw Tree: Location & Care Tips
- September 3, 2025
- By Jason Sinclair
Thinking about planting a pawpaw tree? I know I was, and figuring out the best spot for it took some research. Pawpaws are pretty interesting trees, native to North America, and they produce a fruit that tastes like a mix of banana and mango. But to get that delicious fruit, you really need to pay attention to where you put the tree. It’s not just about sticking it in any old spot. You have to consider things like sunlight, soil, and even how you’ll get them to pollinate. I’ve put together some notes based on what I’ve learned to help you find the perfect place and give your pawpaw the best start.
Key Takeaways
- When deciding where to plant a pawpaw tree, think about its natural habitat as a forest understory plant, but know that for fruit production, more sun is better.
- Choose a site that gets at least six to eight hours of sunlight daily, but protect young saplings from intense afternoon sun until they are established.
- Pawpaw trees do best in soil that drains well, is rich in organic matter, and has a slightly acidic to neutral pH.
- Ensure your planting location has access to water, but avoid areas prone to flooding or where water sits stagnant around the roots.
- To get fruit, you’ll need to plant at least two genetically different pawpaw trees within about 100 feet of each other for cross-pollination.
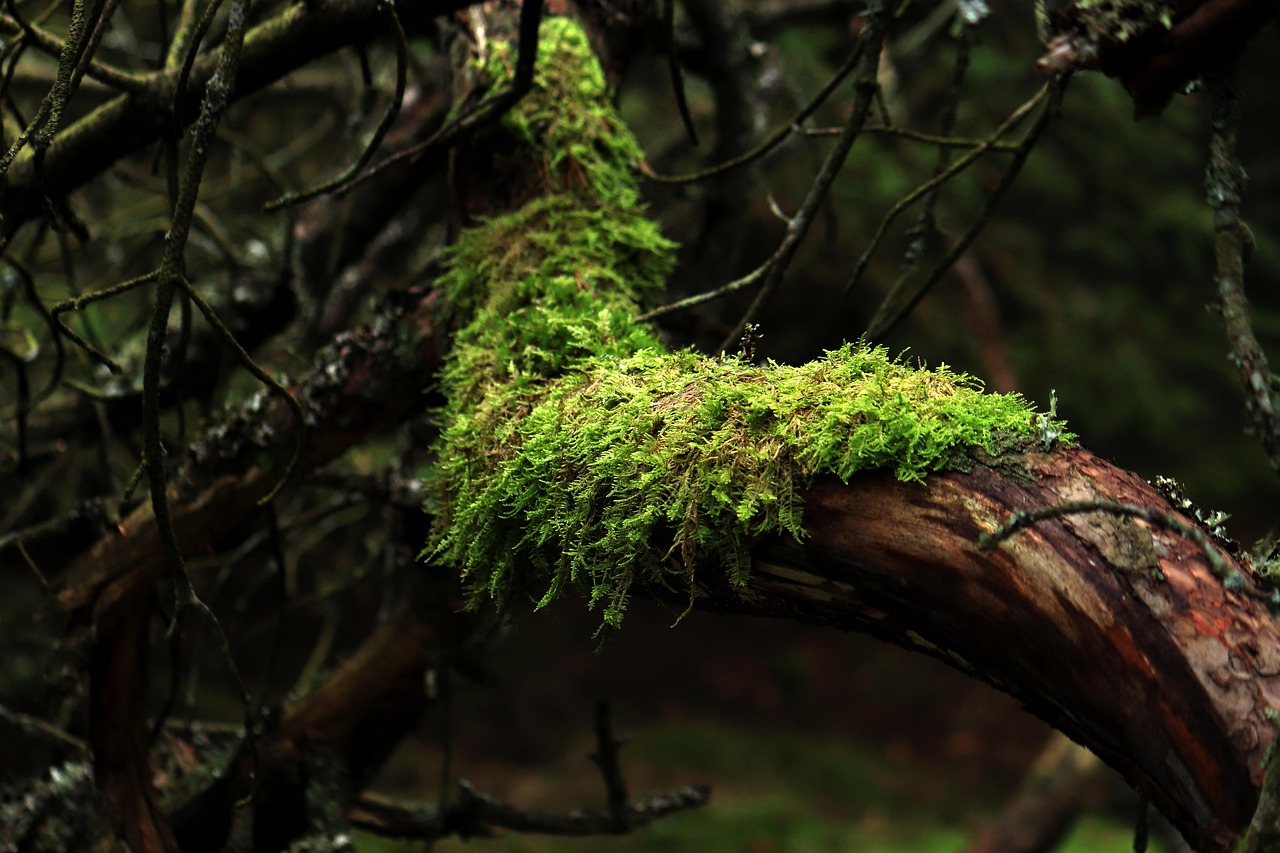
Understanding Pawpaw’s Natural Habitat
When I first started thinking about planting a pawpaw tree, I honestly didn’t give the location much thought. I figured, “It’s a tree, it’ll grow anywhere, right?” Turns out, that’s not quite the case if you actually want fruit. Pawpaws have a natural history that tells us a lot about where they’re happiest. In the wild, you’ll often find them hanging out in moist spots like ravines, floodplains, and low-lying areas. They’re pretty adaptable, though, and can handle a range of light conditions, from full sun to deep shade. However, for the best fruit production, a bit of planning goes a long way.
Understanding their native environment helps me choose the best spot in my yard.
Think about it: these trees are North America’s largest native fruit, and they’ve been around for ages. They’re used to certain conditions, and mimicking those as best as possible is key to success. For instance, while they can tolerate shade, they really do better with at least some direct sunlight. Too much shade, and you might get a lot of leaves but not much fruit. Also, they don’t like being battered by strong winds, especially when they’re young. Their big leaves can catch a lot of air, and a windy spot can cause damage.
Pawpaws naturally grow in areas that have good moisture but also drain well. This means they don’t like sitting in soggy ground, which can rot their roots. Finding that balance is important.
So, before I even dig a hole, I’m looking at where the sun hits throughout the day, how the water flows after a rain, and if there are any natural windbreaks. It’s about giving the tree the best possible start, just like it would have in its natural home. This initial thought process is really what sets the stage for a healthy, fruit-bearing tree later on. It’s worth taking the time to observe your yard and see which spot best matches what the pawpaw prefers. You can find more information on their preferred conditions on the pages about native fruit trees.
Selecting the Right Site
Choosing the right spot for your pawpaw tree is pretty important, I’ve found. It’s not just about sticking it in the ground and hoping for the best. Pawpaws, while adaptable, do have preferences that can really make a difference in how well they grow and, eventually, how much fruit they give you.
Established trees really do best with full sun, but young ones need a bit of a break. When they’re just starting, those big, tender leaves can get scorched by the strong afternoon sun. So, I usually look for a spot that gets plenty of morning sun, maybe with some light shade during the hottest part of the day. Alternatively, a location that gets about six to eight hours of direct sunlight is also a good bet. If you can’t provide natural shade, you might need to rig up some temporary shade cloth for the first year or so.
Wind is another thing to consider. Pawpaws have large leaves and a pretty full canopy, and strong winds can really do a number on them, potentially causing damage. I try to pick a spot that offers some natural windbreak, perhaps from a building or other established trees, without being so close that it causes competition for resources later on.
Here’s a quick rundown of what I look for:
- Sunlight: Aim for at least 6-8 hours of direct sun daily for mature trees. Young trees benefit from protection from intense afternoon sun.
- Wind Protection: A location with some natural shelter from strong winds is ideal to prevent leaf damage.
- Space: Think about the mature size of the tree. Avoid planting too close to structures, overhead wires, or underground utilities. I usually give them at least 8-10 feet of clearance from things like patios or pipes.
It’s easy to get excited and just plant the tree, but taking a moment to really assess the site will save a lot of headaches down the road. I learned that the hard way with a different kind of fruit tree; it ended up growing into the neighbor’s fence, which was awkward.
Ideal Soil Conditions
When I’m thinking about where to put my pawpaw trees, the soil is a big deal. These trees, being native to forest floors, really like a specific kind of dirt. They’re not super picky, but getting the soil right from the start makes a world of difference.
Pawpaw trees thrive in soil that drains well, has a good amount of organic material, and is slightly acidic.
Drainage is probably the most important thing. You don’t want water just sitting around the roots. If your soil is heavy clay, it might hold too much water. I’ve found that mixing in some compost or peat moss can really help improve drainage. You want the soil to be moist, but not waterlogged. Think about it like a sponge – it holds water but also lets excess drip away. If you’re on the edge of a creek or wetland, just make sure the spot isn’t constantly flooded and that the water actually moves.
As for the pH, pawpaws generally prefer a slightly acidic environment. Most sources say a range between 5.5 and 7 is pretty good for them. If you’re unsure about your soil’s pH, you can get a simple test kit from a garden center. It’s not too complicated to adjust if needed, but usually, if you’re adding plenty of organic matter, you’re already in a good zone.
Speaking of organic matter, pawpaws really appreciate it. This means compost, well-rotted manure, or leaf mold. It helps with soil structure, drainage, and provides nutrients. I like to add a good amount of compost when I’m digging the hole for a new tree. It gives them a nice boost right from the start. A little mulch on top each year also helps keep the soil healthy and retains moisture.
Here’s a quick rundown of what I look for:
- Drainage: Soil should let water pass through without pooling.
- pH: Aim for slightly acidic, around 5.5 to 7.0.
- Organic Matter: Rich soil with plenty of compost or other organic material is best.
If your soil is heavy clay, don’t despair. Adding compost or peat moss can significantly improve its ability to drain and support healthy root growth. It’s all about amending the soil to create a better environment for your young trees.
Getting the soil conditions right is a solid step towards having healthy, fruit-producing pawpaw trees. It’s one of those things that, if you get it right early on, saves you a lot of headaches later. I always try to amend the soil with compost when planting, and I’ve seen good results. You can find more information on soil amendments to help your pawpaw thrive in its new home.
Water Access & Elevation
When I’m picking a spot for my pawpaw trees, I really think about how much water they’ll get and where the water goes. Pawpaws like their soil to be consistently moist, but they absolutely hate sitting in water. It’s a bit of a balancing act, really. You want to be close enough to a water source, like a hose, so you can give them a drink during dry spells, especially when they’re just getting started. Newly planted trees might need watering a few times a week for the first few months.
I’ve learned that planting them in areas that might flood, even if it’s just occasionally, is a bad idea. Think about riverbanks; sometimes they look good, but if the water sits there, it’s no good for the roots. You want to avoid low spots where water collects. It’s better to have them on slightly higher ground, or at least in a spot where water drains away well. This helps prevent root rot.
- Choose a site with good drainage. This is probably the most important thing.
- Ensure easy access to water for supplemental irrigation.
- Avoid low-lying areas that are prone to standing water.
- Consider the mature size of the tree and its water needs.
I found that keeping the soil evenly moist, particularly in the first few months after planting, makes a big difference. It helps the young trees establish themselves without too much stress.
If you’re near a watercourse, make sure the area is elevated enough so the roots aren’t constantly submerged. It’s all about finding that sweet spot where the soil stays damp but isn’t waterlogged. This careful consideration will help your pawpaw trees thrive and produce fruit for years to come. For more on planting, you can check out pawpaw tree planting tips.
Spacing & Pollination Strategy
When I first started thinking about planting pawpaws, I wasn’t sure how much space they’d need. It turns out, planning for their mature size and how they reproduce is pretty important if you want fruit. Pawpaws aren’t like apples or cherries, where one tree can do its own thing; they really need a buddy to get going.
To get fruit, you absolutely need at least two different pawpaw trees planted relatively close to each other. This is because pawpaw flowers rely on specific pollinators, like flies and beetles, and these little guys aren’t always efficient. Bees, surprisingly, don’t show much interest in pawpaw blossoms. Planting trees within about 100 feet of each other helps ensure that pollen can travel between them. Some folks even recommend planting them closer, maybe 5 to 15 feet apart, to really boost the chances of pollination happening naturally. If you’re really serious about getting fruit, you might even consider hand-pollinating using a small brush to move pollen from one flower to another. It sounds like a bit of work, but it can make a big difference.
Here’s a quick rundown on spacing:
- General Spacing: Aim for 10-15 feet between trees. This gives them room to grow and makes it easier for pollinators to find them.
- Proximity for Pollination: Keep trees within 100 feet of each other. Closer is often better for fruit set.
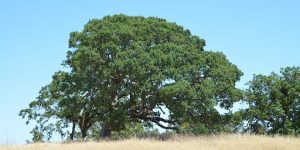
- Future Growth: Think about their mature size, which can exceed 15 feet, and avoid planting too close to structures or utilities. It’s a good idea to plan for the future expansion of your orchard, too.
It’s easy to get excited and just plant trees wherever there’s a bit of space, but with pawpaws, spacing is key for fruit. If you don’t have at least two trees, or if they’re too far apart, you might end up with beautiful trees that never give you any fruit. I learned that you really need to think about how they’ll interact for pollination from the start. It’s worth looking into how pawpaw seeds grow if you’re starting from scratch, as that also impacts your future fruit production.
Planting Time & Procedure
Getting your pawpaw tree into the ground is a pretty straightforward process, but doing it at the right time and with a bit of care can make a big difference. I usually aim for early spring, right when the seedlings are just starting to wake up. This timing helps them avoid the stress of extreme heat or cold while they’re getting settled.
Here’s how I typically go about it:
- Prepare the Hole: Dig a hole that’s a bit wider and deeper than the pot your pawpaw came in. This gives the roots plenty of room to spread out.
- Gently Remove Seedling: Carefully take the young tree out of its container. Try not to disturb the roots too much, especially that important taproot.
- Position the Tree: Place the seedling in the hole. The soil level in the hole should be the same as it was in the pot – right where the trunk meets the soil.
- Backfill and Water: Fill the hole back in with soil, gently firming it around the roots. Then, give it a good, thorough watering. This helps settle the soil and removes air pockets.
For the first year, protecting your young pawpaw from harsh sun is really important. I’ve found that using a tree protector, like a paperboard tube or even some burlap secured around a stake, works well. This shields it from intense sunlight and can also deter hungry critters. Make sure whatever you use is secured against wind.
If you’re planting in the fall, especially in colder zones, spring planting is generally safer. Fall planting can work, but you’ll want to get that tree protector on right away. Remember, good soil is key, so if you have heavy clay, amending it with compost or peat moss is a good idea to improve drainage. You can find more on soil preparation in my section about ideal soil conditions.
After planting, keep the area around the base of the tree free of weeds and grass. They compete for water and nutrients, which your new tree really needs. I usually wait about a month after planting before I think about fertilizing, and then I follow the product’s instructions.
Early Care Essentials
Once my little pawpaw sapling is in the ground, I know the first year is really about helping it get settled. It’s kind of like bringing a new pet home; you want to make sure it has everything it needs to thrive.
The most important thing I focus on is keeping the soil consistently moist, but not waterlogged. For the first few months, I aim to water it two to three times a week. After that, I check the soil moisture regularly, especially during dry spells. If the top inch or two feels dry, it’s time for a drink.
Mulching is another big one for me. I spread a layer of organic mulch, like wood chips or shredded bark, around the base of the tree. I make sure to keep it a few inches away from the trunk itself to prevent rot. This helps the soil hold onto moisture, keeps weeds down, and regulates soil temperature. It’s like a cozy blanket for the roots.
Protection is also key, especially from the sun and any hungry critters. Young pawpaws can get scorched by direct, hot afternoon sun. I usually provide some temporary shade. This could be a shade cloth draped over a simple frame, or even a larger plant nearby offering dappled light. If I’ve got one of those cardboard tree protectors, I’ll use that too. It shields the young trunk from the sun and also deters deer or rabbits from taking a nibble. I make sure whatever I use for shade or protection is secured well, especially if there’s a chance of strong winds.
Here’s a quick rundown of what I do:
- Watering: Keep soil consistently moist, especially for the first few months. Check the top 1-2 inches of soil; water if dry.
- Mulching: Apply a 2-3 inch layer of organic mulch around the base, keeping it a few inches from the trunk.
- Shade: Provide temporary shade from harsh afternoon sun for the first year.
- Protection: Use tree guards or tubes to protect the trunk from animals and sunscald.
I find that being attentive during this initial establishment phase really pays off. It sets the stage for a healthy, productive tree down the line. It’s a bit of work upfront, but it’s worth it to see that little tree grow strong.
Long-Term Maintenance
Once your pawpaw tree is established, the ongoing care is pretty straightforward. I’ve found that keeping the area around the base clear of weeds is a good habit to get into. This helps the tree get all the water and nutrients it needs without competition. You can apply a balanced fertilizer once or twice during the growing season to give it a little boost, especially if the soil isn’t super rich. Just follow the product’s instructions.
Pawpaws don’t strictly need pruning, but sometimes I like to trim them a bit. It can help let more light and air into the middle of the tree, which might lead to better fruit. If you’re looking to shape the tree or manage its size, a little pruning can do the trick. It’s worth looking up some good advice on how to prune fruit trees properly if you’re unsure; I found some helpful tips on tree trimming services that gave me a better idea.
Pawpaw trees are generally hardy and don’t attract many pests. However, keep an eye out for powdery mildew, which you can manage with something like neem oil. The main pest to watch for is the pawpaw peduncle borer, which can affect fruit production by eating the flowers. While zebra swallowtail butterfly caterpillars eat the leaves, they usually don’t cause enough damage to worry about.
Sometimes, you might notice small shoots, called suckers, growing from the base of the tree. If you want more pawpaw trees, you can let them grow. If not, just snip them off at the ground with pruning shears. It’s pretty neat how they can create a little grove over time if you let them be. The trees themselves are quite resilient to winter cold, so they don’t need any special winter protection once they’re in the ground and growing.
Keeping your trees healthy year-round involves a few key tasks. This includes regular pruning to shape them and remove dead branches, feeding them with the right nutrients, and watching out for any bugs or diseases that might harm them. Proper care ensures your trees stay strong and beautiful. Want to learn more about how to keep your trees in top shape? Visit our website for expert tips and advice!
Frequently Asked Questions
What kind of sunlight does a pawpaw tree need?
I’ve found that while fully grown pawpaw trees enjoy plenty of sunshine, young ones can get sunburned. It’s best to give saplings a spot with bright light but some shade during the hottest part of the afternoon. As they get bigger, they can handle more direct sun.
What is the best type of soil for pawpaw trees?
My experience tells me that pawpaws do best in soil that drains well and has plenty of good stuff in it, like organic matter. They also prefer soil that isn’t too alkaline, so slightly acidic is ideal. Keeping the soil moist but not waterlogged is key.
How often should I water my pawpaw tree?
I make sure to keep the soil around my pawpaw trees consistently moist, especially when they are young. Watering them a few times a week for the first few months after planting is a good practice. Once established, they still appreciate regular watering, particularly during dry spells.
Do I need more than one pawpaw tree for fruit?
Yes, I’ve learned that pawpaw trees are not self-pollinating. To get fruit, I need to plant at least two different pawpaw trees that are close enough to each other, ideally within 100 feet, so that wind or insects can carry pollen between them.
When is the best time to plant a pawpaw tree?
I’ve had success planting pawpaw trees in the spring or early fall. These times help the young trees avoid the stress of extreme heat or cold while they are getting settled in their new home.
How do I protect a young pawpaw tree?
I’ve found that young pawpaw trees can be quite delicate. It’s a good idea to protect their trunks with a tree guard or a small fence, especially if deer or rabbits are around. Also, providing some shade for the first year helps prevent the young leaves from getting scorched by the sun.