
How to Trim a River Birch Tree: Best Time of Year to Prune
- December 4, 2025
- By Jason Sinclair
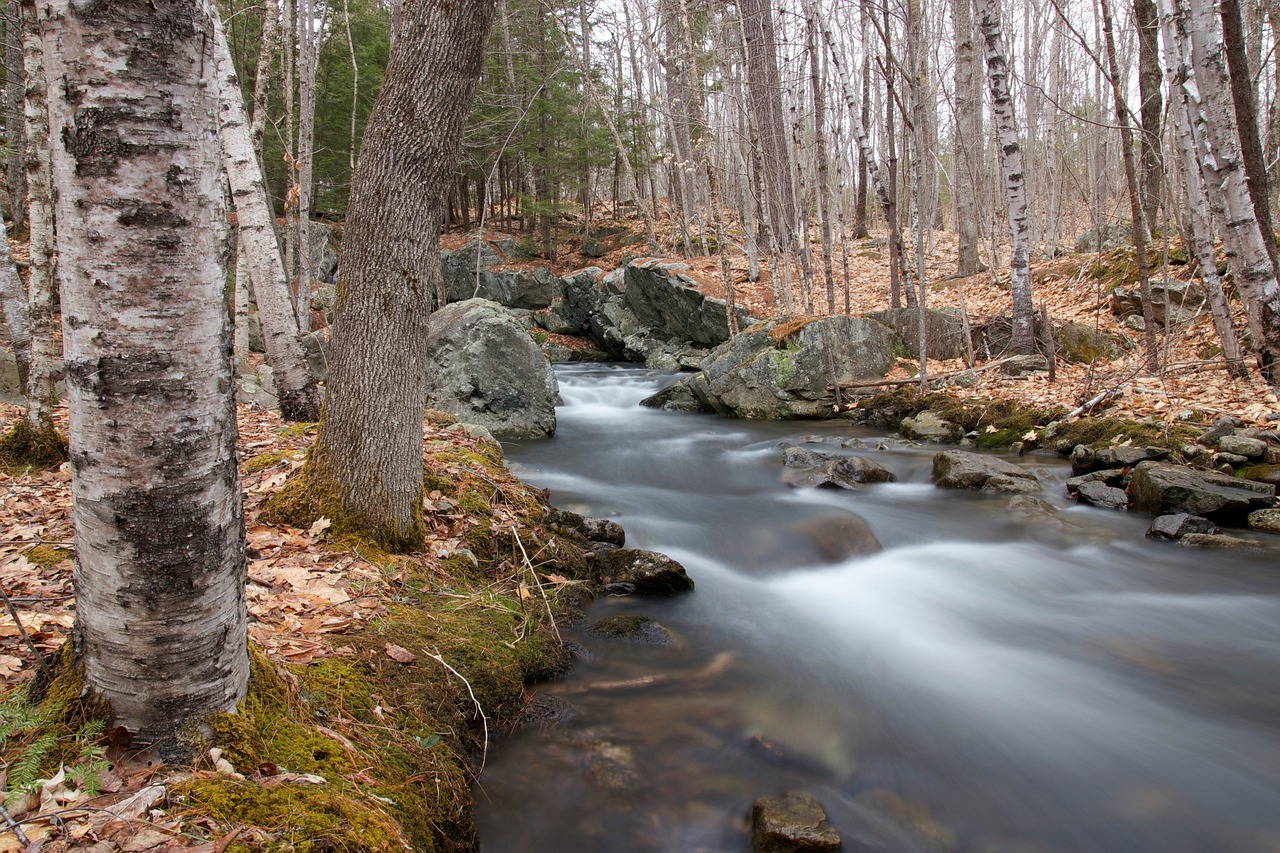
So, you’ve got a river birch gracing your yard, and that’s pretty neat. These trees are known for their peeling, multi-colored bark and graceful shape. But, like anything living, they need a little attention now and then to stay healthy and looking their best. Learning how to trim a river birch tree isn’t just about making it look tidy, though that’s part of it. It’s really about keeping the tree strong and preventing problems down the road.
Why Learning How to Trim a River Birch Tree Matters
Think of it like this: when you trim away dead or weak branches, you’re not just cleaning things up. You’re actually helping the tree put its energy into growing new, healthy parts. It’s also a good way to stop diseases from spreading. If a branch is sick, taking it off can protect the rest of the tree. Plus, those dead branches can be a real hazard, especially when the wind picks up or snow piles on. Nobody wants a falling branch crashing down on their car or, worse, a person.
Here are a few key reasons why getting familiar with trimming your river birch is a good idea:
- Health Boost: Removing dead, damaged, or diseased limbs helps the tree fight off infections and encourages vigorous new growth. It’s like giving your tree a health check-up and a little tune-up all at once.
- Safety First: Overhanging or weak branches can break unexpectedly. Pruning these potential hazards makes your yard a safer place for everyone.
- Shaping Up: River birches have a natural beauty, but sometimes they can get a bit wild. Pruning helps maintain their attractive form and can even improve airflow and sunlight penetration through the canopy, which is good for the tree’s overall well-being.
- Disease Prevention: A clean tree is a healthy tree. By removing decaying parts, you reduce the chances of pests and diseases taking hold and spreading.
Honestly, it might seem like a chore at first, but a little bit of pruning goes a long way in keeping your river birch a beautiful and sturdy part of your landscape for years to come. It’s about being proactive rather than reactive when it comes to tree care.
Understanding the Growth Habits Before You Learn How to Trim a River Birch Tree
Before I even think about picking up my pruning shears, I need to get a feel for how a river birch actually grows. It’s not like trimming a hedge, you know? These trees can get pretty big, and they have their own way of doing things.
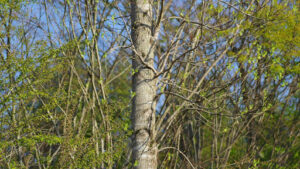
River birches are known for being fast growers. I’ve read they can shoot up a foot or two in a single year and eventually reach heights of up to 90 feet with a spread of 60 feet. That’s a lot of tree! Because they grow so quickly, it’s really important to start shaping them when they’re young. If I wait too long, I’ll just be dealing with a giant tree that’s already established in a way I don’t like.
Here’s a quick rundown of what I’ve learned about their growth:
- Rapid Growth: Expect them to grow fast, especially when they’re young. This means they need attention early on to guide their structure.
- Mature Size: They can become quite large, so planning for their eventual size is key. Don’t plant them too close to buildings or other trees.
- Suckers: River birches tend to send up shoots, or suckers, from the base of the tree or even from the roots. These need to be managed.
Getting the structure right when the tree is young makes a huge difference down the line. It’s much easier to guide a sapling than to correct a mature tree.
I’ve noticed that some river birches tend to have a more upright form, while others spread out more. Understanding the specific variety I have, or at least observing its natural tendency, helps me decide where to make cuts. It’s all about working with the tree’s natural shape, not against it.
Best Season and Weather Conditions for How to Trim a River Birch Tree
When I’m thinking about when to actually get out there and trim my river birch, I usually consider a couple of things. The biggest one is definitely the sap flow. River birches, like many birch varieties, can get a bit weepy if you cut them at the wrong time. They tend to bleed a lot of sap in the spring as they start waking up. While this sap loss isn’t usually a death sentence for the tree, it’s just messy and can weaken it a bit, especially if it’s a younger tree. So, I try to steer clear of spring pruning.
Instead, I’ve found that late summer or early fall works pretty well. The tree has already put on its growth for the year, and the sap flow has slowed down considerably. This means fewer drips and less stress on the tree. Another good window is during the winter, once the tree has dropped all its leaves and is fully dormant. This is a classic time for pruning many deciduous trees, and river birch is no exception. It’s easier to see the tree’s structure when it’s bare, too.
Here’s a quick rundown of my preferred times:
- Late Summer to Early Fall: After the main growth spurt, sap flow is minimal.
- Late Fall to Winter: When the tree is completely dormant and leafless.
I generally avoid pruning during these times:
- Early Spring: This is when sap flow is heaviest.
- Late Spring/Summer: While not as bad as early spring, sap can still be an issue, and fresh cuts might attract certain pests.
As for the weather itself, I like to prune on a dry, mild day. Extreme heat or cold can add extra stress to the tree, and I’m not a big fan of working in miserable conditions either. If I have to remove a dead or diseased branch, I’ll do it whenever I spot it, no matter the season, but for general shaping and maintenance, I stick to those drier, cooler months.
Essential Tools You Need for How to Trim a River Birch Tree Safely
Alright, so you’re ready to get your hands dirty and give that river birch a good trim. Before you go hacking away, let’s talk about the gear you’ll need. Having the right tools makes the job not only easier but a whole lot safer for both you and the tree. I’ve found that using the proper equipment really makes a difference.
First off, for smaller branches, the kind that are less than about an inch thick, a good pair of bypass pruners is your best friend. These are like scissors, and they make a clean cut, which is what you want. For branches a bit thicker, maybe up to an inch and a half or so, you’ll want some lopping shears. These have longer handles, giving you more leverage, and they can handle those slightly tougher jobs without too much fuss.
When you run into branches that are too big for loppers, that’s when you’ll need a pruning saw. There are different types, but a curved blade saw designed for trees usually works well. Some people prefer a bow saw, but I find a good hand pruning saw is more maneuverable for getting into tighter spots. Always make sure your saw is sharp; a dull blade will tear the wood and make a mess.
Now, for safety, don’t forget gloves. Tree bark can be rough, and you don’t want to end up with splinters or cuts. Eye protection is also a must. You never know when a twig or a bit of debris might fly up. And if you’re dealing with a lot of branches or larger ones, consider a hard hat, just in case.
Here’s a quick rundown of what I usually have on hand:
- Bypass Pruners: For small twigs and branches up to 3/4 inch.
- Lopping Shears: For branches between 3/4 inch and 1.5 inches.
- Pruning Saw: For branches larger than 1.5 inches.
- Work Gloves: To protect your hands.
- Safety Glasses: To protect your eyes.
- Disinfectant: Like a 10% bleach solution or rubbing alcohol to clean your tools between cuts, especially if you suspect disease.
It’s really important to keep your tools clean. If you cut into a diseased branch and then use the same tool on a healthy one, you can spread the problem. A quick wipe-down with disinfectant after each significant cut is a good habit to get into.
Finally, if you’re dealing with very large branches or working at a height, you might need a ladder. Make sure it’s stable and placed on level ground. For really big jobs, it might be worth calling in a professional arborist who has all the specialized equipment and knows how to use it safely.
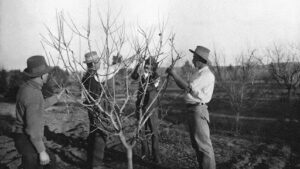
Step-by-Step Guide on How to Trim a River Birch Tree Properly
Alright, let’s get down to actually trimming this river birch. It’s not as complicated as it might seem, but you do need to be methodical about it. First things first, I always start by taking a good look at the tree. I’m looking for anything that’s obviously dead, damaged, or just growing in a weird direction.
Here’s how I usually tackle it:
- Deal with the small stuff first: Grab your pruning shears and snip off any small, twiggy side shoots or suckers that are popping up from the base or along the trunk. This is usually pretty straightforward and gets you warmed up.
- Assess the bigger branches: Now, I step back and look at the larger branches. The key here is to be selective. I never want to remove more than about 20% of the tree’s overall structure in one go. Think about what you want the tree to look like and what branches are getting in the way or are clearly unhealthy.
- Target dead or weak branches: I focus on branches that are dry, brittle, or show signs of disease. If a branch is less than two inches in diameter, my long-handled pruners can usually handle it easily. I try to cut these close to the main trunk or a larger branch, making sure to cut cleanly.
- Tackle larger branches with care: For branches that are too big for simple pruners, I use a three-cut method. This prevents the bark from tearing, which can really damage the tree.
- Undercut: About 18 inches out from the trunk, I cut the bottom up, going about a third of the way through the branch. This is the support cut.
- Main Cut: A few inches further out from the undercut (say, 1 to 2 inches), I cut the branch all the way through from the top down. The branch should fall away cleanly at this point.
- Final Trim: Now, I go back and carefully remove the remaining stub, cutting it flush with the trunk or the parent branch. This little bit is important to prevent disease from setting in.
Always remember to clean your tools between cuts, especially if you suspect disease. A quick wipe with a 10% bleach solution or rubbing alcohol works wonders for preventing the spread of any nasty stuff.
It’s easy to get carried away when pruning, but with river birches, less is often more. Focus on removing what’s necessary for the tree’s health and structure, rather than trying to reshape it drastically all at once. Patience is really key here.
Common Mistakes to Avoid When Learning How to Trim a River Birch Tree
When I first started working with trees, I made a bunch of mistakes, and I’m sure you might too. It’s easy to get carried away or just not know what you’re doing. Let’s talk about some of the common slip-ups I’ve seen and experienced myself.
One of the biggest errors is pruning at the wrong time of year. If you prune during the spring, when the sap is really flowing, you’ll see a lot of bleeding. While it might not kill the tree, it’s messy and can weaken it a bit. I learned this the hard way; my first birch looked like it was crying sap for weeks after a spring trim. It’s much better to wait until late summer or early fall, or even late winter, before the sap starts running heavy again.
Another frequent mistake is taking off too much at once. River birches grow pretty fast, and it’s tempting to want to shape them up quickly. But if you remove too much of the canopy, especially on a younger tree, you can really stress it out. I try to stick to the rule of never removing more than 20 percent of the tree’s branches in a single pruning session. It’s better to do a little bit each year than to try and do it all at once.
Here are a few other things to watch out for:
- Over-pruning young trees: While it’s good to start shaping young trees, don’t go overboard. Focus on guiding their growth rather than drastic cuts.
- Not cleaning your tools: This is a big one for disease prevention. If you’re cutting a diseased branch and then move to a healthy one without cleaning your pruners, you can spread the problem. A quick wipe with a disinfectant between cuts is a good habit.
- Leaving stubs: When you cut larger branches, it’s important to make the proper cuts to avoid leaving a stub. These stubs can become entry points for pests and diseases.
- Ignoring dead or diseased branches: Sometimes, people think they’ll just let them fall off. But it’s best to remove them promptly, especially if they show signs of disease, to protect the rest of the tree.
Making these kinds of errors can set your tree back. It’s not just about making the tree look good; it’s about keeping it healthy and strong for years to come. Taking a bit of extra time to learn the right way can save you a lot of trouble down the line.
Finally, don’t forget about the base of the tree. Suckers can pop up from the trunk or around the roots. While they might seem harmless, they can drain energy from the main tree. Removing them is usually a good idea, and it’s a pretty simple job with some pruning shears.
Aftercare Tips Following How to Trim a River Birch Tree for Healthy Growth
Alright, so you’ve done the trimming. That’s a big step! Now, what do we do to help our river birch recover and keep growing strong? It’s not just about the cuts, you know. A little attention afterward goes a long way.
First off, keep an eye on those cuts. Make sure they’re clean and smooth, with no ragged edges. If you notice any sap weeping excessively from larger cuts, don’t panic. It’s normal for river birches, but it’s good to monitor. You can gently wipe away any thick drips with a clean cloth.
Watering is important, especially if you’ve pruned during a dry spell. Give the tree a good soak, but don’t drown it. You want the soil to be moist, not waterlogged. Think of it as giving it a nice drink after a bit of work.
Here’s a quick rundown of what to do:
- Monitor the cuts: Check for excessive sap or signs of stress.
- Water appropriately: Ensure the soil stays consistently moist, especially in dry weather.
- Mulch around the base: A layer of mulch helps retain moisture and keeps the soil temperature steady. Just be sure to keep it a few inches away from the trunk itself.
- Watch for pests and diseases: While pruning can help prevent issues, it’s always good to be vigilant. Look for any unusual spots on leaves or signs of insect activity.
Sometimes, after pruning, a tree might look a little bare. This is usually temporary. The goal is to encourage new, healthy growth from the remaining branches. Resist the urge to overcompensate with extra fertilizer or water, as this can sometimes do more harm than good.
If you removed any diseased branches, make sure you dispose of them properly. Don’t just leave them lying around the yard, as the disease could spread. Burning them or bagging them for trash pickup is usually the best bet.
And finally, give your tree some time. It’s a living thing, and it needs a chance to heal and adjust. You’ll start to see new leaves and shoots appearing before you know it, and that’s the best sign that your aftercare efforts are paying off.
Expert Advice and Long-Term Maintenance on How to Trim a River Birch Tree
After you’ve finished the main pruning, it’s good to think about keeping your river birch looking its best over the long haul. I’ve found that consistent, gentle care is way better than big, drastic cuts later on. Think of it like regular check-ups for your tree.
The key is to be observant and act when needed, rather than on a strict schedule.
Here’s what I usually do:
- Regular Inspections: A quick walk around the tree every few months, especially after big storms, can catch problems early. Look for any branches that have broken or look weak. It’s also a good time to spot any signs of pests or diseases.
- Selective Removal: If you see a branch that’s rubbing against another, or one that’s growing inward and crossing other branches, it’s usually best to remove it. I try to do this during the dormant season, late fall or early winter, to minimize stress on the tree.
- Monitor Growth: River birches can grow pretty fast. If you’re aiming for a specific shape or want to keep it from getting too wide, you might need to do some light shaping pruning annually. This is different from the major pruning we discussed earlier; it’s more about guiding its natural form.
- Address Issues Promptly: If you notice any yellowing leaves that aren’t related to the season, or spots on the bark, it’s worth investigating. Sometimes, a simple soil test can tell you if the pH is off, which can affect how the tree takes up nutrients.
I’ve learned that sometimes, less is more. Over-pruning, especially when the tree is young, can really set it back. It’s better to take off a few small branches here and there than to remove a large portion of the canopy all at once. Remember, the goal is to help the tree thrive, not to force it into a shape it doesn’t want to be.
Keeping up with your river birch doesn’t have to be a huge chore. A little bit of attention throughout the year, focusing on removing only what’s necessary and observing the tree’s health, will go a long way in maintaining its beauty and vigor for years to come. It’s about working with the tree’s natural tendencies.
Keeping your River Birch tree looking its best involves more than just occasional trimming. Proper care and maintenance are key to its long-term health and beauty. If you’re unsure about the best way to prune your tree or need help with ongoing care, our team is here to assist. Visit our website today to learn more about our tree services and get a free estimate!
Frequently Asked Questions
When is the absolute best time to trim my River Birch tree?
I find that the ideal period for trimming my River Birch tree is from late fall through early winter. It’s best to avoid pruning in the spring when the tree is actively producing a lot of sap. Pruning during this time can cause excessive sap to bleed, which might weaken the tree.
How much of the tree should I trim off?
When trimming, I aim to be very selective. I never remove more than 20 percent of the tree’s overall structure at one time. My focus is on removing dead, diseased, or crossing branches. Taking too much off, especially from a young tree, can be harmful.
What are the main reasons for trimming a River Birch?
I trim my River Birch for a few key reasons. First, it helps prevent diseases by removing dead or dying parts that could spread problems. Second, it encourages healthier, stronger growth by removing branches that are taking up resources. Lastly, it helps keep the tree looking neat and attractive by managing its shape.
Are there any specific tools I should use for trimming?
Yes, I always use sharp, clean pruning tools. For smaller branches, bypass pruners or loppers work well. It’s important to clean my tools with a disinfectant, like a 10% bleach solution, after trimming each branch to stop the spread of any diseases.
What should I do after trimming my River Birch?
After I’ve finished trimming, I make sure the soil around the base stays moist, especially during dry spells. I also apply a layer of mulch, being careful not to pile it up against the trunk. This helps the tree recover and promotes good health.
Can trimming help my River Birch prevent insect problems?
Yes, trimming at the right time, usually late summer or early fall, can help. This timing helps avoid the egg-laying season for certain insects, like birch borers, that are attracted to fresh pruning cuts. Removing dead or damaged branches also reduces potential entry points for pests.